Back again with more babbling. To recap… some people find… ah, screw it. I had envisioned this topic as a linear series of posts for folks dipping their toes into X, talking about my editing process… A-B-C-D etc. Turns out my brain doesn’t work that way. Maybe that’s why FCP X appeals to me. 😉 So I guess I’m just gonna write a little bit now and again – in no particular order – about unique things I like when working with, rather than against the FCP X timeline. This little post will be about Storylines.
The Primary Storyline. Use it.
I, and others, have said that the best way to get acclimated to the Magnetic Timeline is to fill the storyline with gap, and cut everything in as connected clips and disconnect the audio. I did it at first. It works kind of like you’re “used to” working. And it sucks.
Or, you could use connected clips but keep the audio components connected to maintain sync. You get the benefit of audio components/expansion too. But it’s a mess.
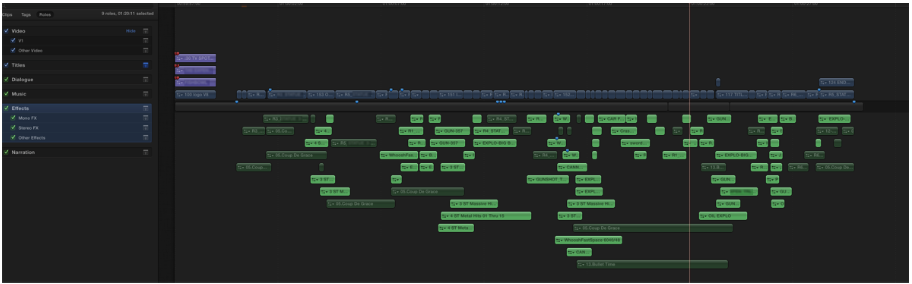
Or, don’t fight it. Use the Primary Storyline.

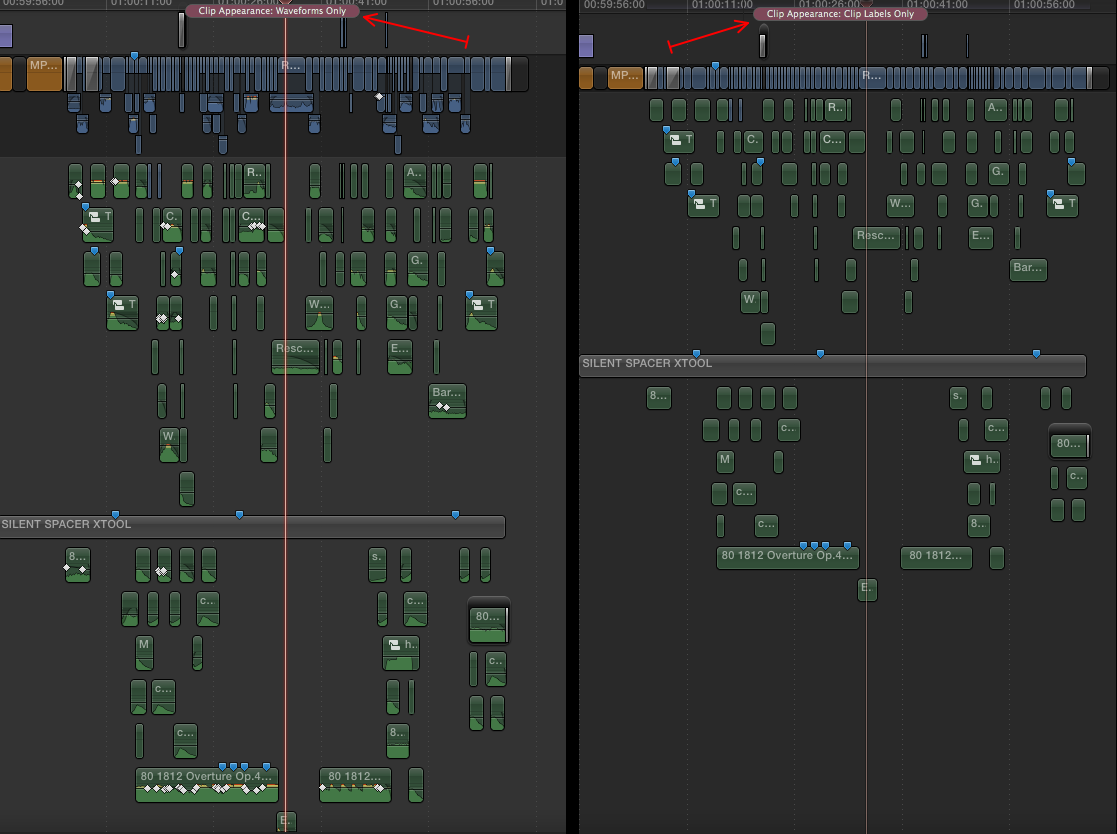
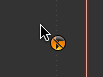
All nice and neat. Use the Position Tool (P) to move clips without rippling. Hold the tilde key while adjusting clips (~) to temporarily disable connections. Press and hold tilde (~) then press SHIFT and release both keys to lock connections off. Press tilde again to re-enable connections. This cursor let’s you know connections are disabled.
Secondary Storylines Are FCP X “Tracks”
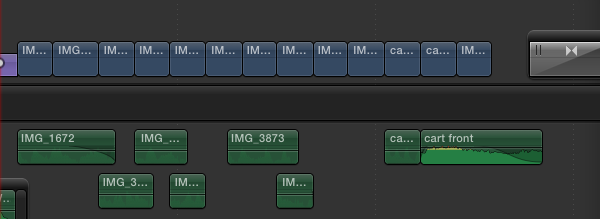
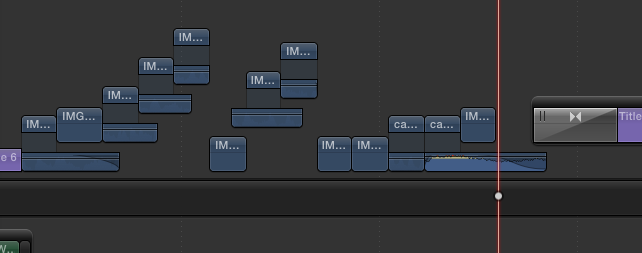
When working with Connected Clips, if you want to butt clips together and put transitions on them outside the Primary, X will put them in a Secondary Storyline for you.

Making secondaries is really just like making a new track in other NLE’s. But, you only do it if you need one, which you do if you want to put a transition effect between clips. So… why else would you need one?
Well, maybe you’d like to cut a music bed first, lock it, and edit to that… without having each clip of your music cut move because it’s “connected” to the primary clip above it. Maybe you have a bunch of little clips you want to keep together or easily move as a group. Whatever. Think of storylines as tracks you can move around if you want to. Add gap at the front end and pin it to the head of your timeline and it’ll behave exactly like a track.

What you can also do, that you can’t do in tracks, is expand the audio in storyline clips and do a nice manual crossfade. so it takes the place of 2 (or 4) tracks in other NLE’s. And you can select and manipulate clips in a storylne just like any connected clips in the timeline.
Storylines are also useful if you want to keep a group of clips together for visual organization. Again, just like tracks.
Make new Storylines by selecting a clip and hitting CMD-G. If you forward (SHIFT) delete the clip after this, it’ll leave an empty secondary if you need it.
Spare “tracks”

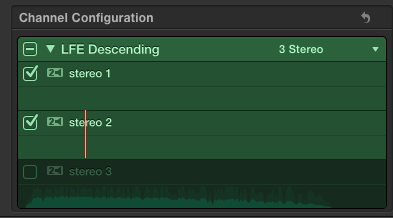
And while you’re at it, Never disconnect your sync audio. Unless you need to cheat some dialog or something, leave the sync audio components with your video clips. If you know there’s a stem you won’t ever need, disable the component for the master clip. In my case, I hardly ever need the Music from a split source, so I just turn it off in the master clip.
That way, every clip I cut in has the sync Dialog and Effects with it. I can turn either on or off in the timeline clip(s) as needed, but it’s always there, I never need to match back to a clip to “find” the audio I didn’t think I needed. This essentially takes the place of track patching, but you only need to do it when you want to, not every freaking time you cut in a clip.
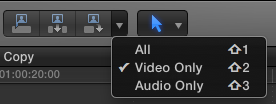
It’s also trivially easy to do an A/V, Video only, or Audio only edit. Hit Shift 1,2, or 3 before you cut in your clip.
Next up (in some random order) Fun with Audio Components, Managing Clip Connections, Compound Clips, The Timeline Index, and anything else I can think of. Happy cutting!